

Book a demo
Creating a note in Plume IA follows a very simple flow. Here are the full steps—from opening a consultation to exporting your note.
💡 Note: Creating a note works in largely the same way on the mobile app as on the web. For this tutorial, examples and screenshots use the web interface. For an overview of the mobile app and its specifics, see this section.
From the Consultation history page, click the New patient button at the top right of the screen. This creates a new episode of care with an open consultation ready to configure.
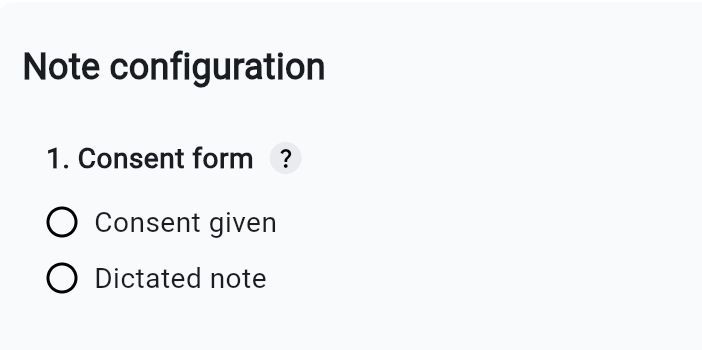
Before you begin, indicate the type of consent that applies to your situation:
Before you start recording, choose the microphone you want to use from the drop-down menu.
💡 Make sure you have allowed microphone access in your browser or on your mobile device.
Three recording methods are available:
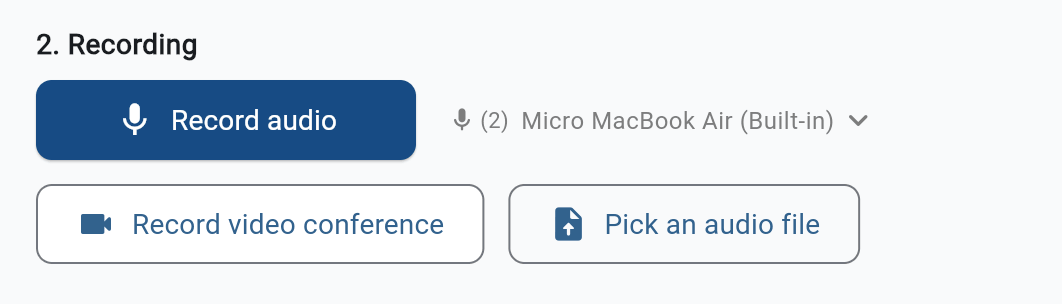
Run your consultation as you normally would—no need to change how you work. You can speak freely, cover non-clinical topics, and pause. The AI analyzes the full conversation and keeps only what matters for your note. When the visit is done, press Pause.

Before generating your note, adjust the settings to suit your needs:
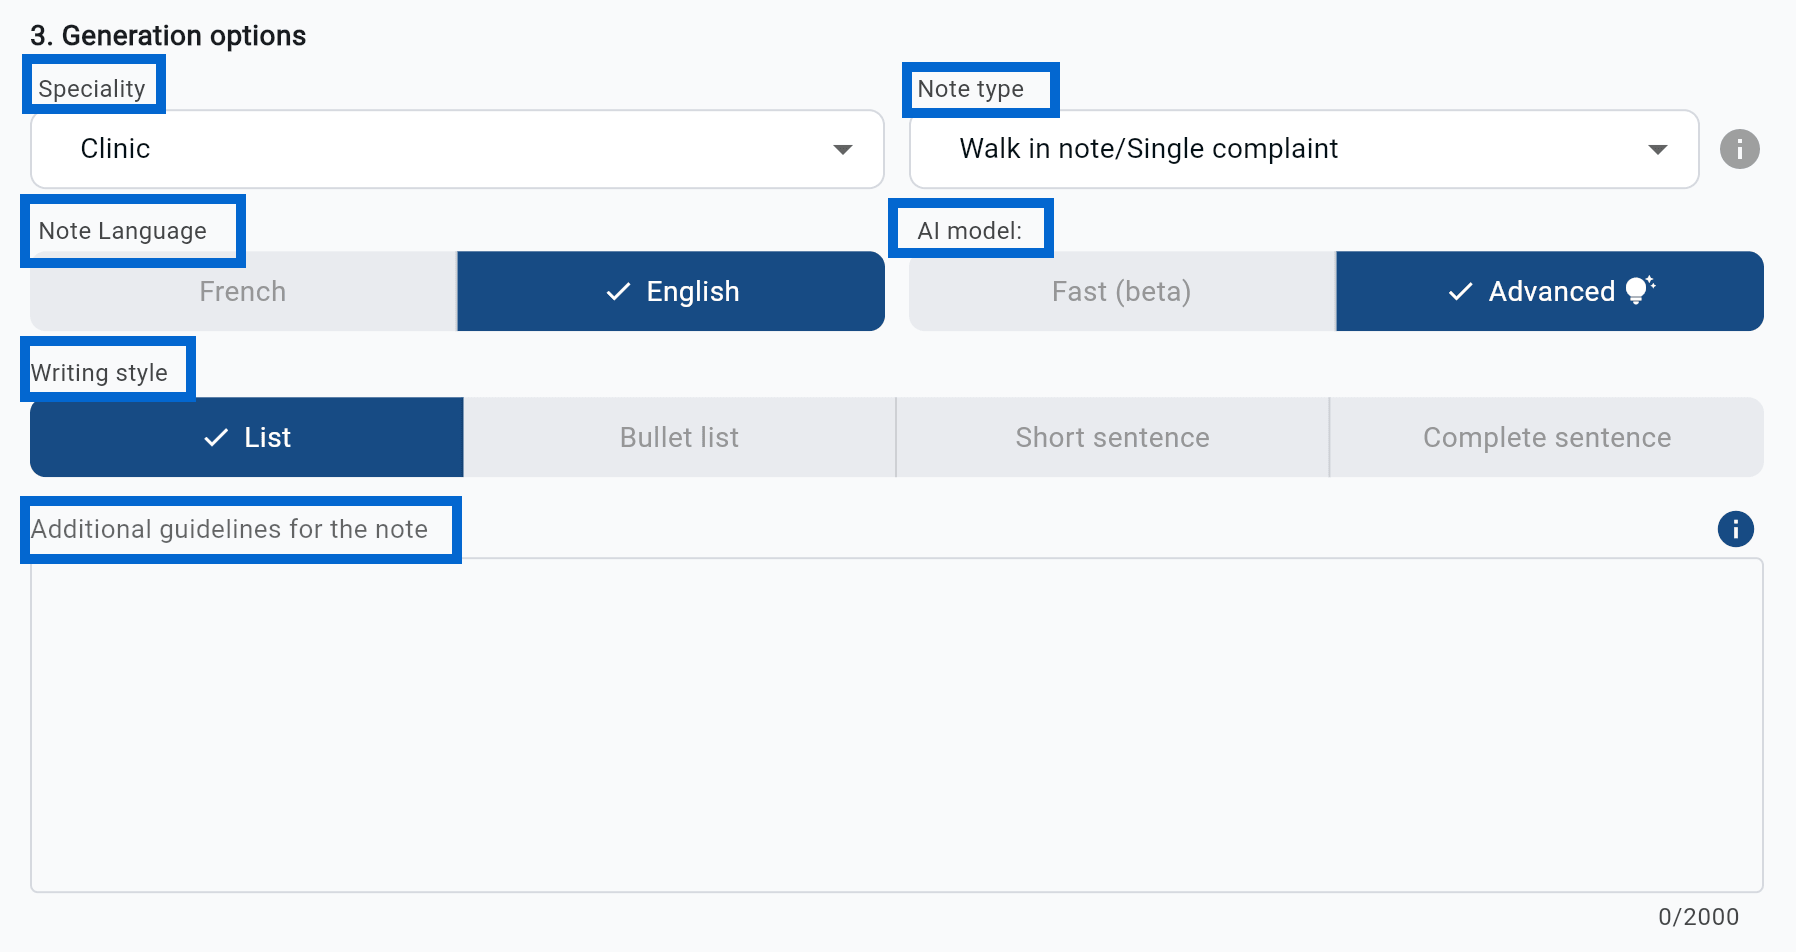
Click Generate note. Plume IA transcribes your recording automatically and produces the medical note in moments.
The result appears in two tabs:
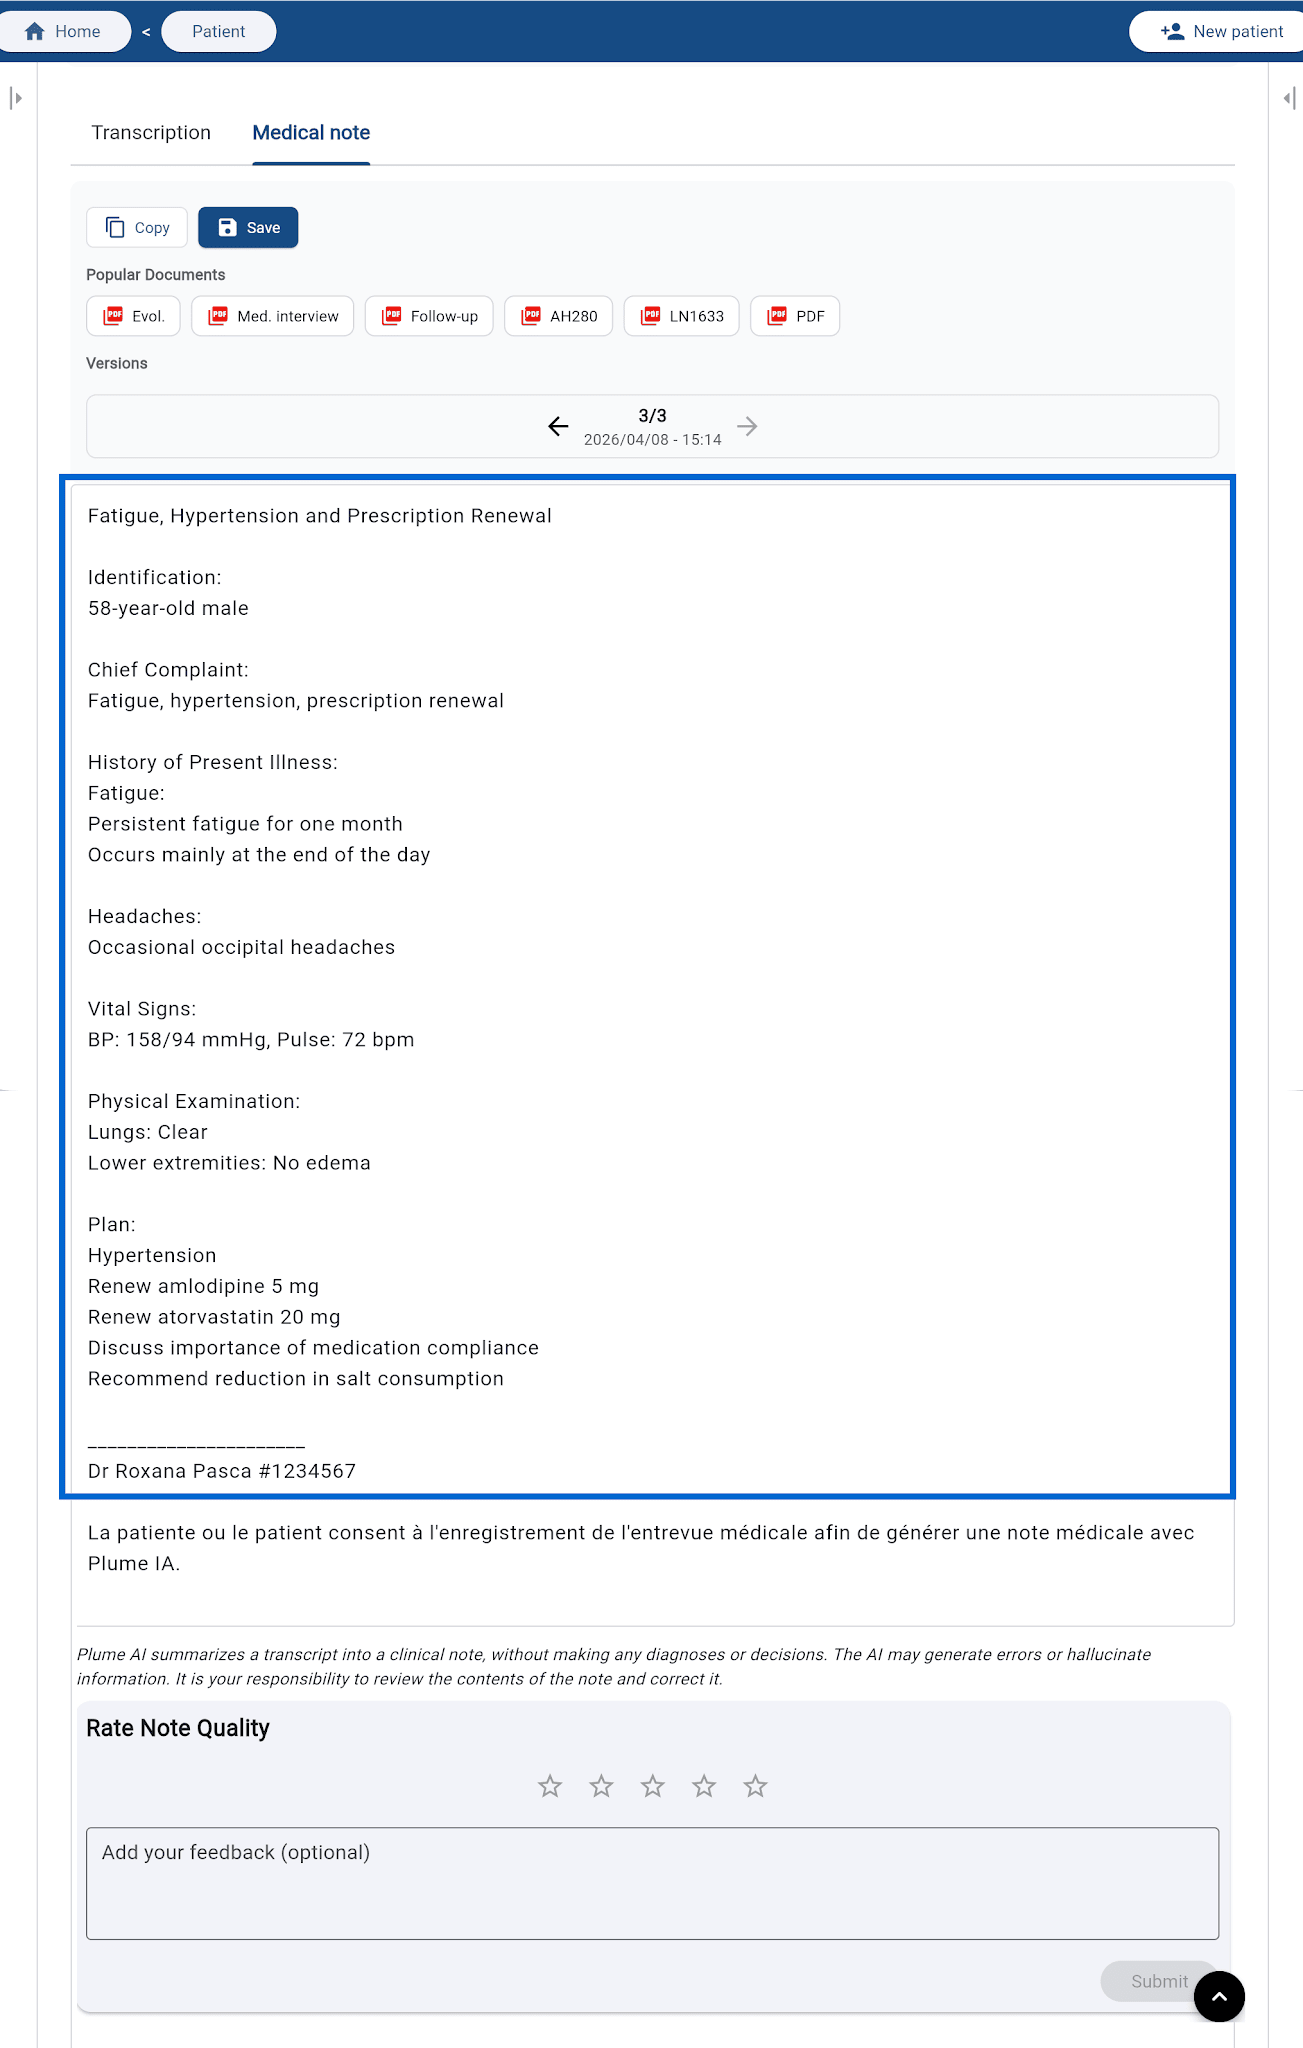
Take a moment to read the generated note and confirm it matches your consultation. Often the note is already ready to use—you only need to validate it.
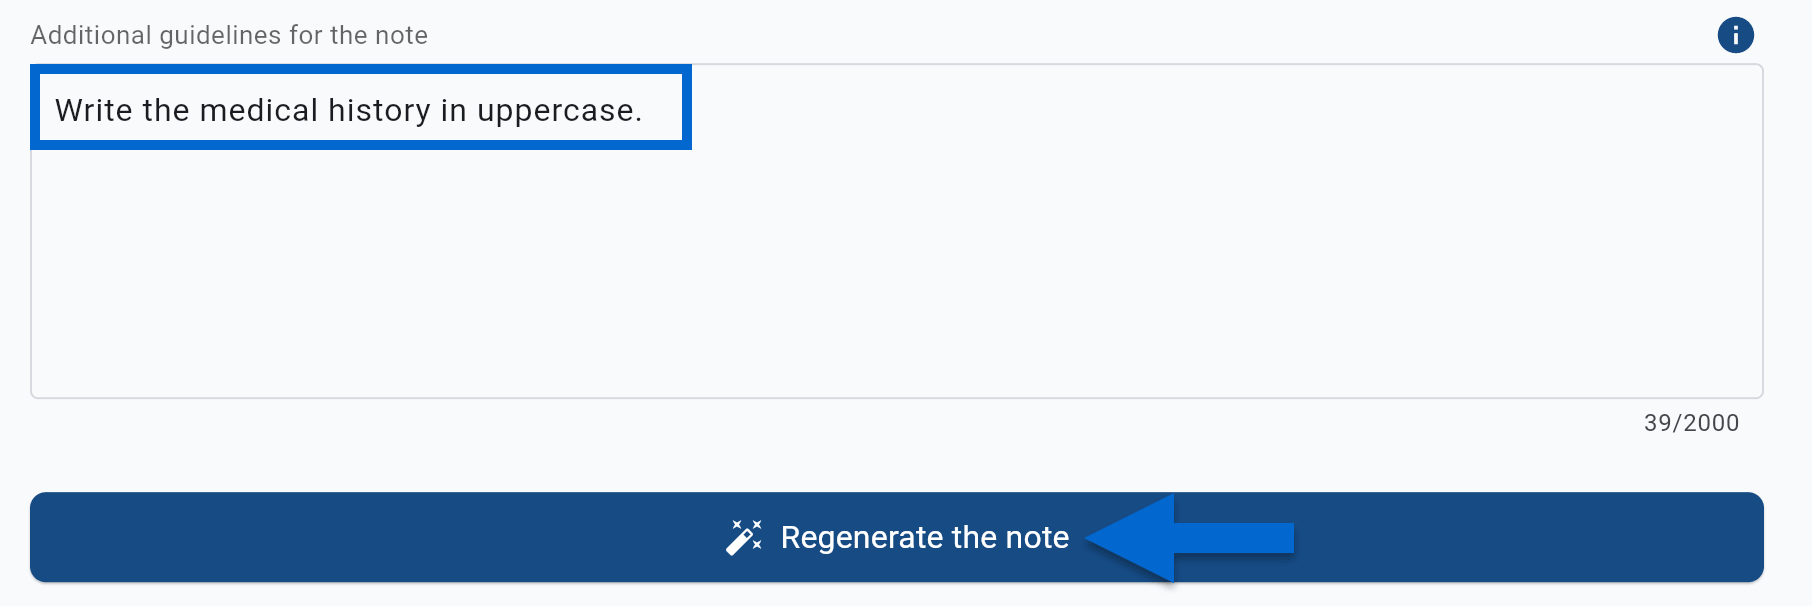
If you want changes, adjust your settings or add additional directives, then click Regenerate note. You can repeat this as many times as you need.
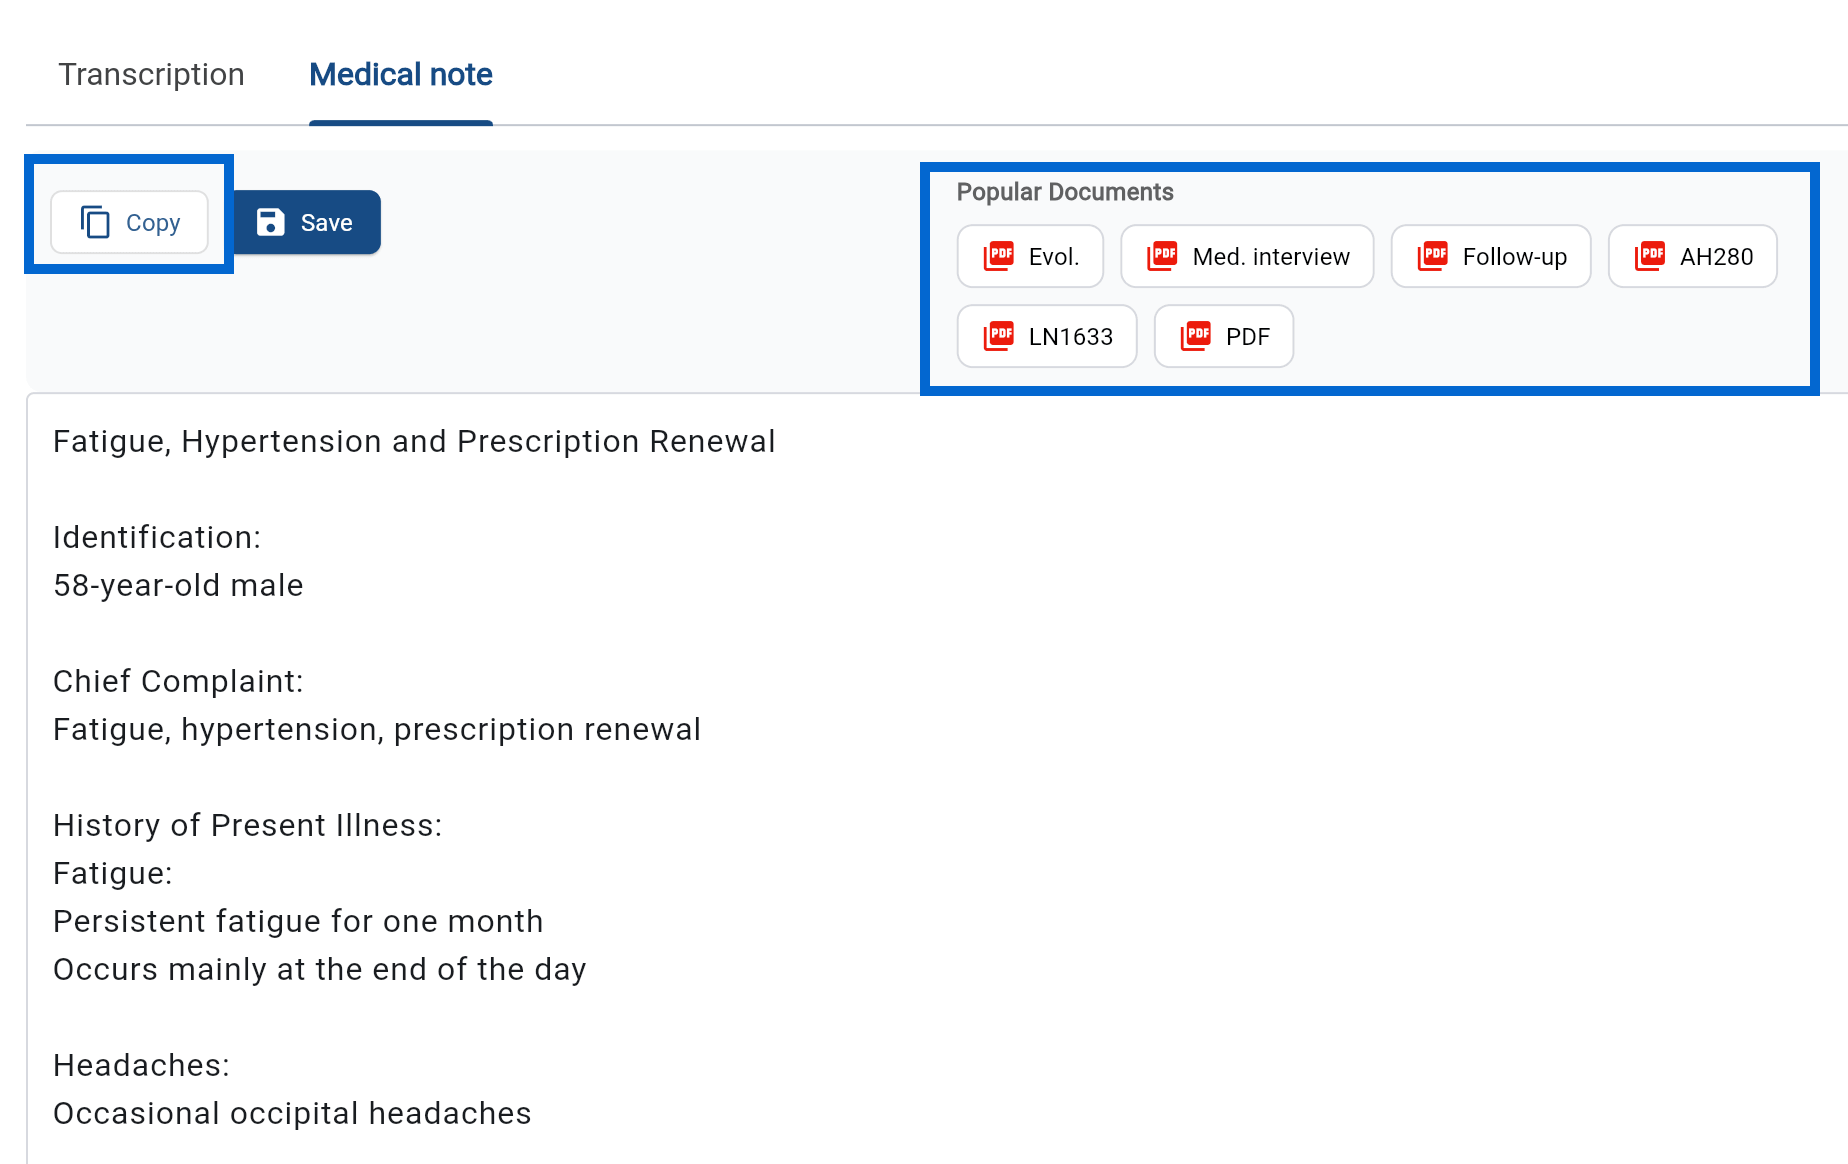
Once the note is validated, you have two options:
To go further, the note template builder lets you design fully custom templates that match your practice and workflow exactly.